The 2026 VES (Visual Effects Society) Awards wrapped up the year in the VFX industry, with major wins sweeping in for productions like Avatar and KPop Demon Hunters. What do these works have in common? They actively leveraged AI-based workflows. VFX is no longer the exclusive domain of major studios. With free and low-cost tools flooding the market, we've entered an era where individual creators can produce blockbuster-level results. Today, we've compiled practical VFX tips that every creator must know in 2026.

📸 How to use Free VFX in DaVinci Resolve (Beginner Video)
1. 2026 Essential VFX Tool Stack — Just Know These
Trying to learn everything from the start will burn you out. Here's the best value-for-money VFX stack as of 2026.
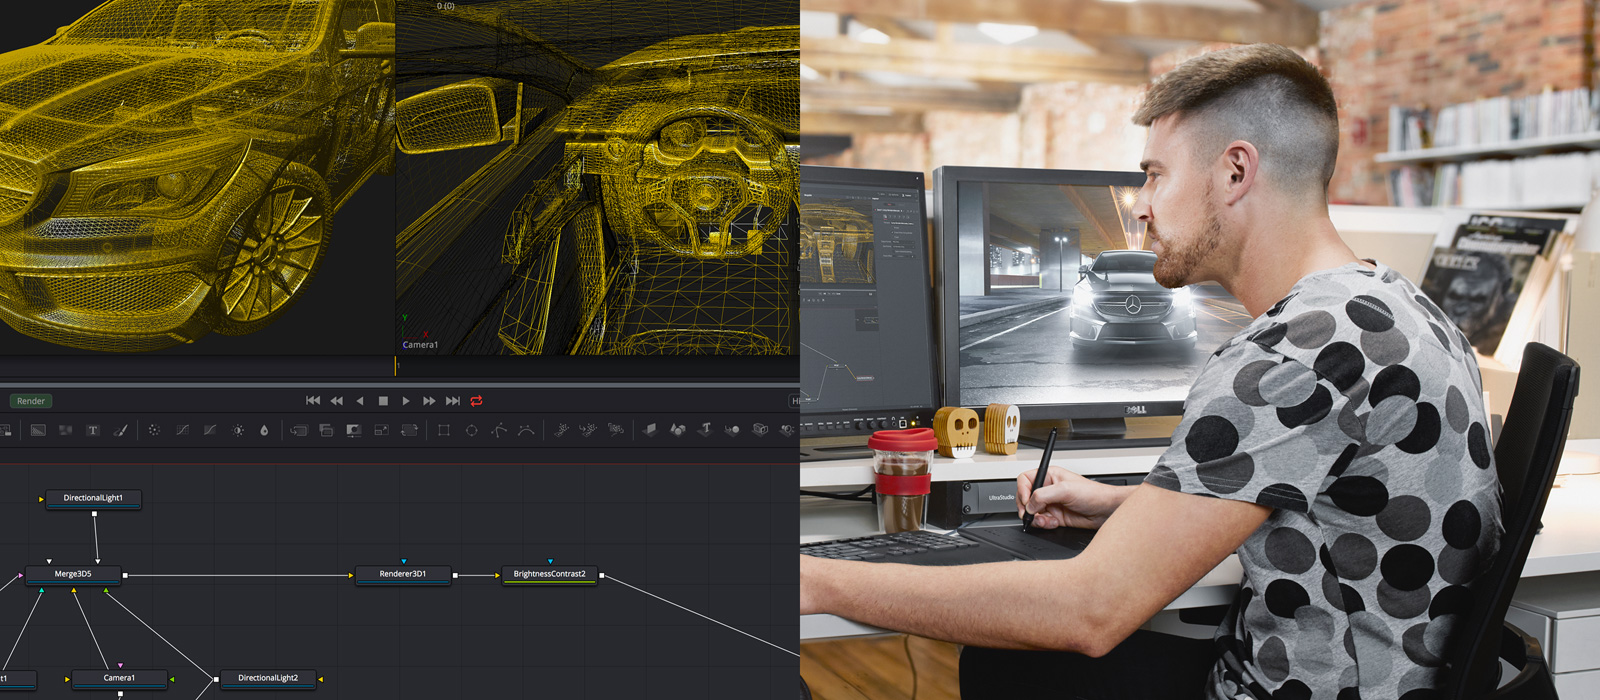
📸 Fusion 20 – Visual Effects | Blackmagic Design
🎬 Free Starter Stack
- Blender 4.x — All-in-one: 3D modeling, particles, and compositing. Completely free.
- DaVinci Resolve 19 — Editing + color grading + Fusion (VFX compositing). The free version is sufficient.
- ComfyUI — AI image and texture generation, rotoscoping assistance. Open-source, runs locally.
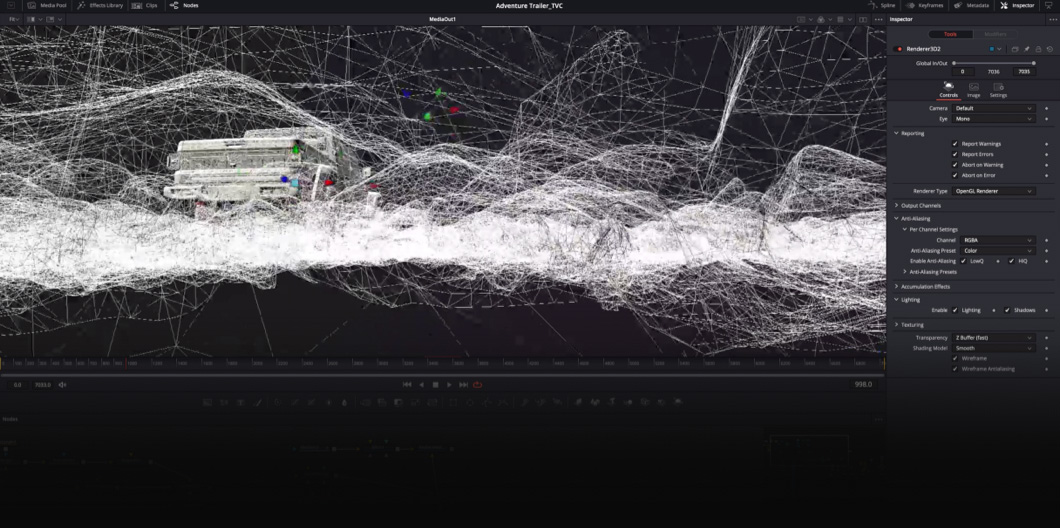
📸 DaVinci Resolve – Fusion | Blackmagic Design
🚀 Additional Tools for Intermediate & Advanced
- Runway Gen-4 — Fast greenscreen removal, object masking, video generation
- Adobe After Effects (Sensei AI) — Remove unwanted objects instantly with Content-Aware Fill
- DeepMotion / Plask — Extract motion capture data from regular camera footage (no suit needed!)
- NVIDIA Omniverse — USD-based team collaboration, RTX rendering (requires high-end GPU)
💡 Recommended Learning Order for Beginners: Blender → DaVinci Resolve Fusion → ComfyUI → Runway. With just these four, you can handle most YouTube VFX scenes.

📸 VFX Class: Using Davinci Resolve Fusion - YouTube
2. Practical VFX Workflow — Step-by-Step Guide
The order of VFX work is critical. Working in the wrong sequence can lead to situations where you have to start over from scratch.
📋 Basic VFX Pipeline (5 Stages)
-
Pre-Production — Reference Collection & Planning
Before starting, collect 20-30 reference images from Pinterest, ArtStation, and Vimeo. Clearly defining "I want to create this kind of feel" prevents wasted time.
Practical Tip: In Blender, display reference images as a background in the viewport while modeling for much greater accuracy. -
Shooting — Securing Original Footage with VFX in Mind
No greenscreen? Shoot against a solid-colored wall (bright blue or green) or a background with clear brightness contrast. Install lighting separately for your subject and background.
Practical Tip: Keep the camera fixed during shooting (tripod is essential). Camera shake makes tracking 100 times harder. -
Rotoscoping & Keying — Subject Separation
Separate people/objects from the background using DaVinci Resolve's Magic Mask (AI-based) or After Effects' Roto Brush. Complex hair areas are handled cleanly with ComfyUI's SAM2 node. -
Compositing — Combining Elements
Combine background, subject, and VFX elements as layers in Blender Compositor or DaVinci Resolve Fusion. Color matching is key. Match color temperature, shadow direction, and noise levels to the background for realism. -
Color Grading — Adding Unity
Unify the colors of the entire video in DaVinci Resolve's Color page. Using LUTs (Look-Up Tables) lets you quickly achieve a cinematic feel. Free LUT packs are available from Motion Array, Ground Control, and others.
3. How AI Changed VFX — 5 Practical Tips for Creators
① How to Cut Rotoscoping Time by 90%
In the past, you had to draw masks frame by frame manually. Now, with DaVinci Resolve's Magic Mask or After Effects' Roto Brush 2.0, simply specify the first frame and AI tracks it automatically. For complex areas like hair, supplement with ComfyUI + SAM2.
② Motion Capture Without a Suit
Upload footage shot with your smartphone to Plask (free plan available) or DeepMotion to extract motion data in BVH/FBX format. You can apply it directly to character rigs in Blender.
Usage Tip: Shoot with your full body visible, use a solid background, and keep lighting bright. Tight clothing produces more accurate results than loose clothing.
③ Let AI Handle Texture Generation
Created a 3D model in Blender but stuck on texturing? Connect Stable Diffusion + ControlNet in ComfyUI to generate textures that match your object's shape using AI. You can get practical results even without Substance Painter.
④ Easy Set Extension
Shot in a small space but need a wide background? Runway Gen-4's Expand feature or Adobe Firefly's Generative Fill naturally extends backgrounds with AI. Keywords: "match the existing background style, cinematic lighting"
⑤ Noise Removal & Resolution Upscaling
For low-light shooting or to reduce rendering time by rendering at lower samples, post-process with Topaz Video AI or DaVinci Resolve's Super Scale to significantly boost quality.
4. Top 5 Mistakes Beginners Make
- ❌ Shooting handheld — Tracking won't work. A tripod is essential!
- ❌ Compositing without color grading — No matter how well you composite, if colors don't match, it looks fake.
- ❌ Mismatched shadows and lighting direction — Realism collapses instantly. Always check the background light source direction.
- ❌ Ignoring lens blur (depth of field) — Apply the same DOF blur to composited elements as the background for natural results.
- ❌ Starting at too high a resolution — Working in 4K increases rendering time by 4x or more. Test in HD (1920x1080) first, then upscale when complete.
5. VFX Learning Roadmap Starting Today
| Stage | Goal | Recommended Tools | Duration |
|---|---|---|---|
| Stage 1 | Understand Compositing Basics | DaVinci Resolve Fusion | 2-4 weeks |
| Stage 2 | Create 3D Elements | Blender | 1-2 months |
| Stage 3 | Integrate AI Tools | ComfyUI + Runway | 2-4 weeks |
| Stage 4 | Full Pipeline Work | Full Stack Integration | Ongoing |
Actively use communities too. You can get real-time feedback at Reddit r/vfx, BlenderArtists, and domestically at Clien Video/Editing Board.
댓글
댓글 쓰기