Figma × Claude Code Complete Guide — Revolutionizing AI Development and Design Collaboration with Code to Canvas (2026)

📸 Claude Code designs for me in Figma: No MCP needed
What Is Figma × Claude Code Integration?
On February 17, 2026, Figma and Anthropic announced an official partnership. The highlight? "Code to Canvas" — a game-changing feature that allows UIs created in Claude Code to be imported with a single click into editable Figma frames.
This isn’t just a screenshot. It’s a real, layer-separated Figma design artifact, fully ready for teams to annotate, comment, and refine instantly.
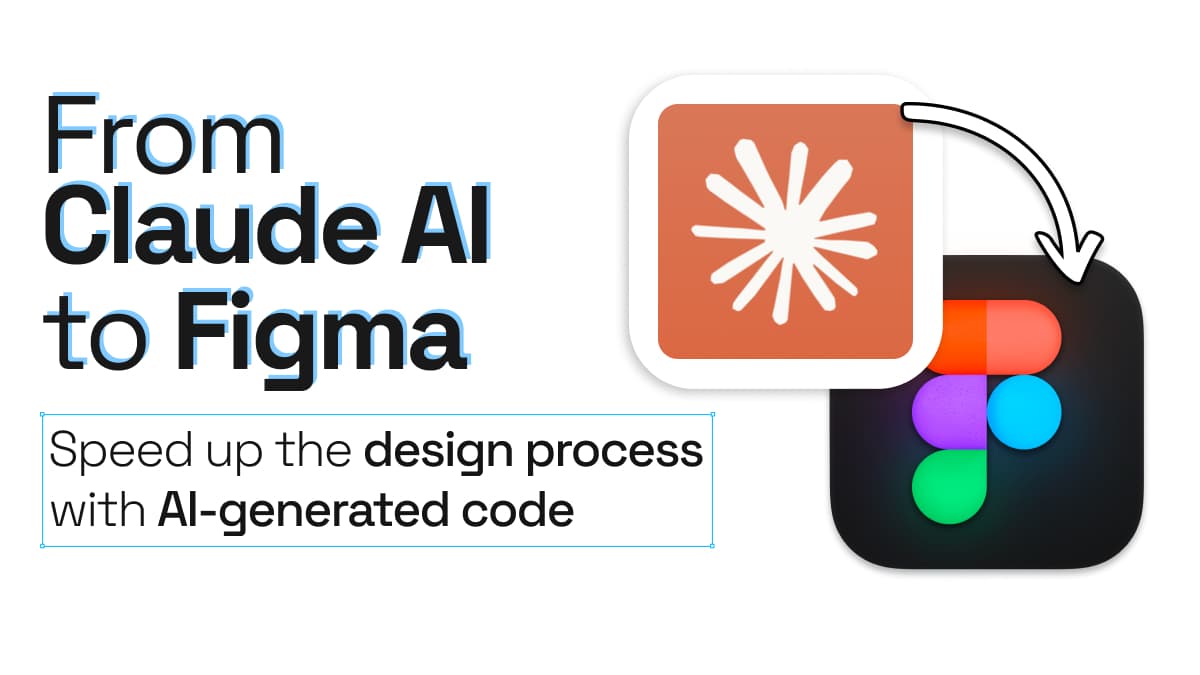
📸 From Claude AI to Figma. Speed up the design process with AI ...
Why Was This Needed? — The Problem It Solves
Traditional design-to-development workflows have always been one-way:
- Designer creates in Figma → Developer codes it → End of process
But with the rise of AI coding tools like Claude Code and Cursor, a new reverse-direction challenge emerged. AI can now generate working UIs in just 1–2 minutes. However:
- "How do I share this UI with my team for review?"
- "I made several versions—where can I compare them side by side?"
- "Do I have to manually remake everything in Figma to show it to the designer?"
Code to Canvas solves this bottleneck. It brings AI-generated code directly onto the Figma canvas, enabling full team collaboration on real-time outputs.

📸 Tutorial: Claude Code designs for me in Figma ❌ No MCP needed
Installation & Setup (Done in 2 Minutes!)
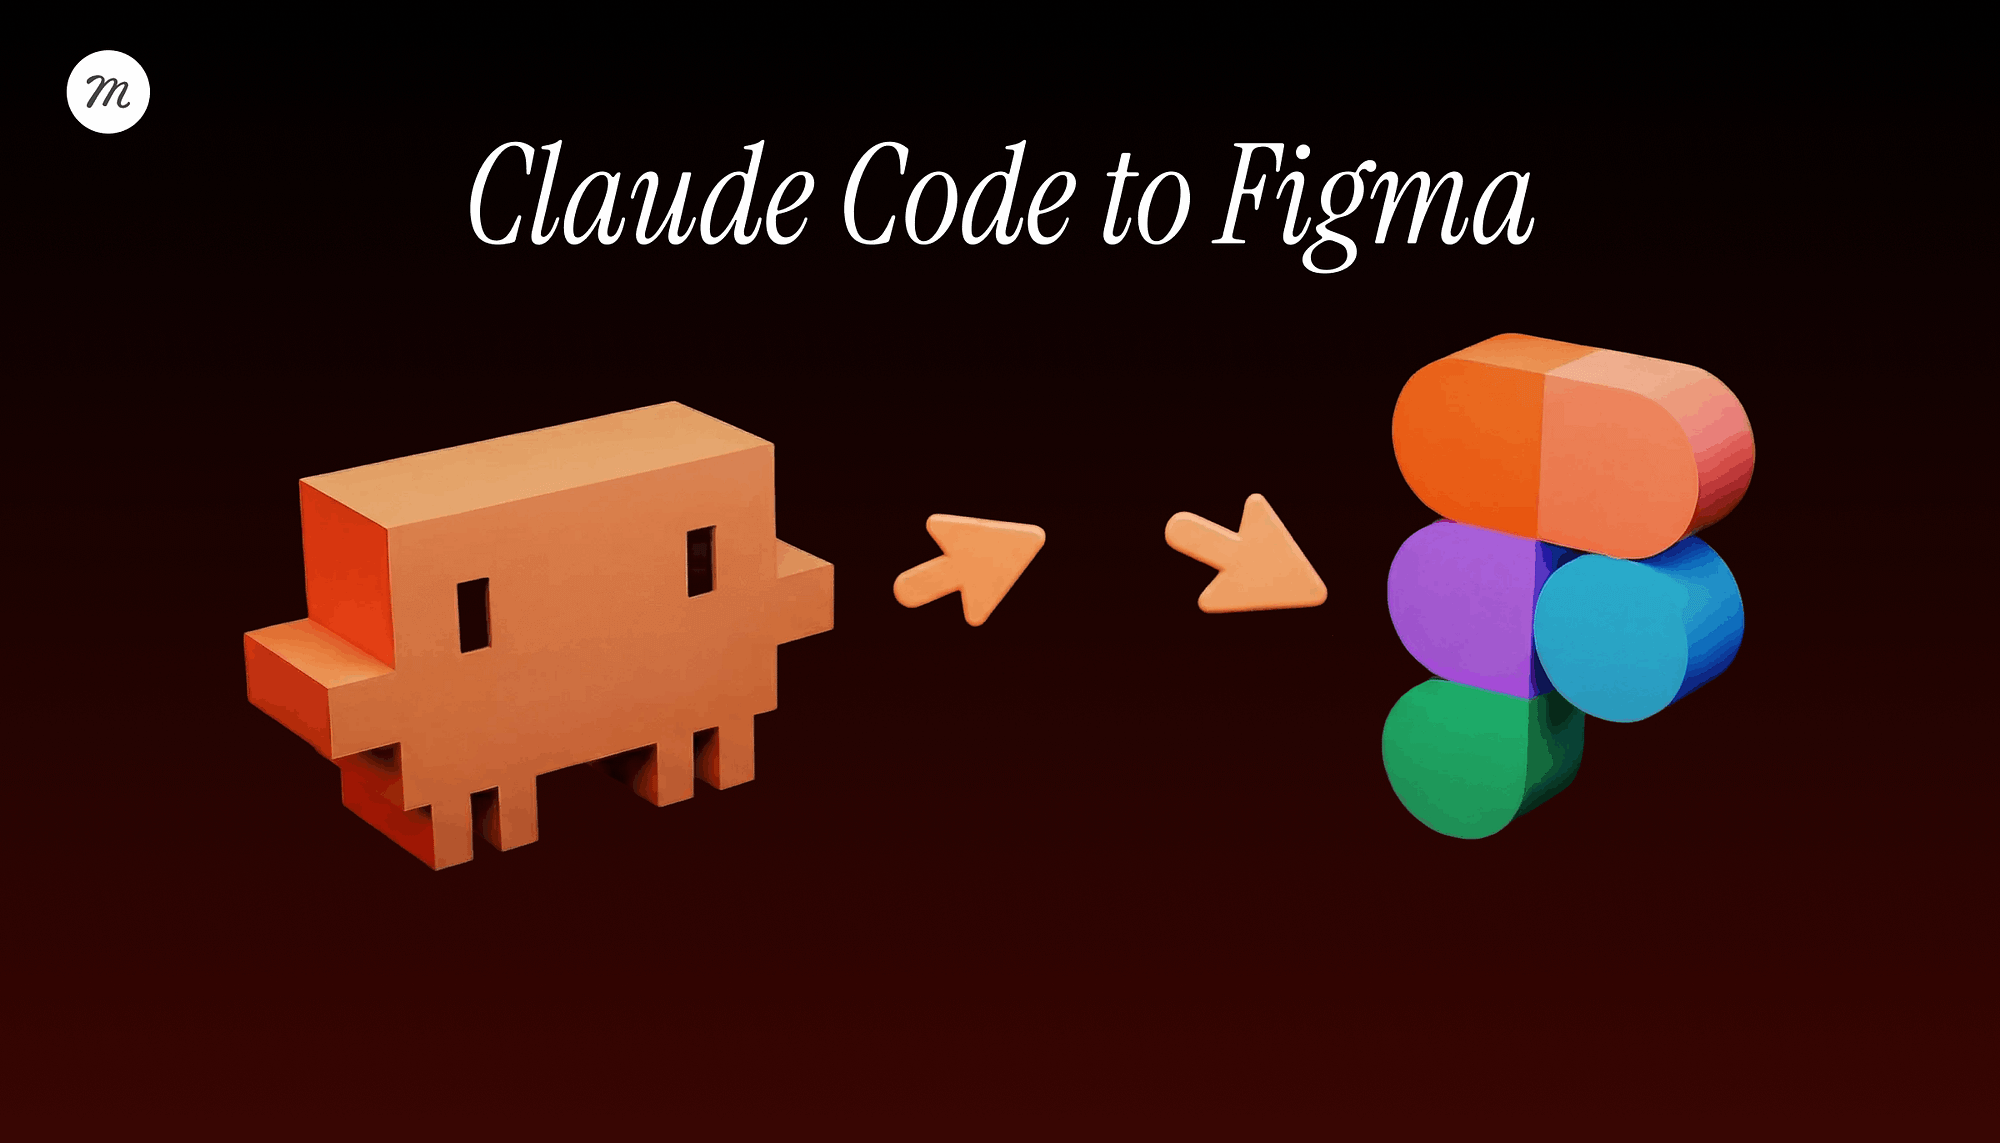
📸 Claude Code to Figma: How the New “Code to Canvas ...
Prerequisites
- Figma Desktop App (Web version not supported)
- Claude Code CLI installed
- Node.js environment
Step 1: Enable Figma MCP Server
Open the Figma desktop app:
- Go to Preferences
- Enable "Dev Mode MCP Server"
- Automatically runs locally at
http://127.0.0.1:3845/sse
Step 2: Connect Figma MCP in Claude Code
Run one simple command in your terminal:
claude mcp add --transport sse figma-dev-mode-mcp-server http://127.0.0.1:3845/sseStep 3: Verify Connection
claude mcp list
# If "figma-dev-mode-mcp-server" appears, you're all set!
That’s it—setup is complete. Now, let’s use it.
Real-World Workflow: 4 Key Steps
① Build UI with Claude Code
Works with local dev servers, staging, or live production—any UI running in the browser. Use Claude Code to generate a new UI or open an existing site.
# Example: Create a login page
claude "Create a login form UI including email, password, and social login buttons"
② Send to Figma
Just type one command in the Claude conversation:
Send this to FigmaThe current live UI rendering is captured and sent directly to Figma.
③ Edit in Figma Canvas
Open Figma, and the UI appears as a fully editable frame. Now you can:
- Rename and organize layers
- Edit colors, fonts, spacing
- Tag team members and leave comments
- Duplicate frames for side-by-side version comparison
- Convert to components
④ Use Multi-Screen Sessions
Capture multiple screens at once. Upload your entire onboarding flow or checkout process in sequence to review UX flows seamlessly in Figma.
# Send multiple pages in order
"Send the login page to Figma"
# (After navigating)
"Also send the dashboard page to Figma"
# (After navigating)
"And the settings page too"
# → Figma receives all 3 frames aligned side by side
When This Is Especially Useful
🎯 Speed Up Design Decisions
Generate 3 AI UI options in Claude, push all to Figma, and let your team compare and discuss right on the canvas. Reduces repetitive “Which one do you like?” meetings.
🎯 Client Reviews
Upload development-stage prototypes to Figma for direct client feedback. Stakeholders can comment without needing code access.
🎯 Design System Updates
Implement a new component in code → capture in Figma → compare side-by-side with existing design system assets for consistency.
🎯 Responsive Design Review
Capture mobile, tablet, and desktop views separately and align them in one Figma file. Monitor layout breakpoints at a glance.
Compatible Editors
The Figma MCP server integrates not only with Claude Code but also with other AI coding tools:
- Claude Code (Anthropic) — Native support
- Cursor
- VS Code (with GitHub Copilot)
- Windsurf
- OpenAI Codex
Realistic Limitations to Keep in Mind
- 🖥️ Figma Desktop App Required — Not available on web browser versions
- 🎬 Complex Animations Not Reproduced — CSS transitions, scroll effects, and interactions are captured as static frames
- 🔄 Layer Separation Isn’t Perfect — Complex UIs may result in merged or grouped layers
- 📱 CLI-Focused Workflow — Currently terminal-based; GUI plugin support coming soon
- 🔗 Not Fully Bidirectional Yet — Changes in Figma don’t automatically sync back to code (“reverse sync”) and require manual implementation
5 Pro Tips for Real Workflows
- Ensure browser zoom is 100% before capture — Zoom levels affect frame size in Figma
- Capture both dark and light modes separately — Store as distinct frames for easier comparison
- Immediately rename generated frames — Replace auto-generated names with clear labels like "Login_v1" or "Dashboard_mobile"
- Organize flows by Figma page — Group onboarding, main app, and settings on separate pages for better navigation
- Archive rejected versions — Keep unused iterations in a "Rejected" section for potential future reference
Final Thoughts
The Figma × Claude Code integration is more than just AI writing code — it’s a bridge that connects AI output to a shared space for team review and decision-making. For the first time, developers and designers can work from the same artifact on the same canvas. It’s not just a tool update — it’s a transformation in how teams collaborate.
Setup takes less than 2 minutes. Try it today!
댓글
댓글 쓰기