GitHub Copilot CLI Complete Guide 2026 — Terminal AI Coding Agent Official Launch! From Installation to Real-World Usage
📸 GitHub Copilot CLI is now generally available - GitHub Changelog
GitHub Copilot CLI Complete Guide 2026 — Terminal AI Coding Agent Official Launch!
On February 25, 2026, GitHub announced the official launch (GA, Generally Available) of Copilot CLI. Starting as a public preview in September 2025, Copilot CLI has undergone hundreds of improvements in just 5 months, evolving into a complete AI coding agent environment that runs directly in the terminal. In this article, we'll explore Copilot CLI's core features, installation methods, and practical usage strategies in detail.

📸 GitHub Copilot in the CLI now in public beta - GitHub Changelog
What is GitHub Copilot CLI?
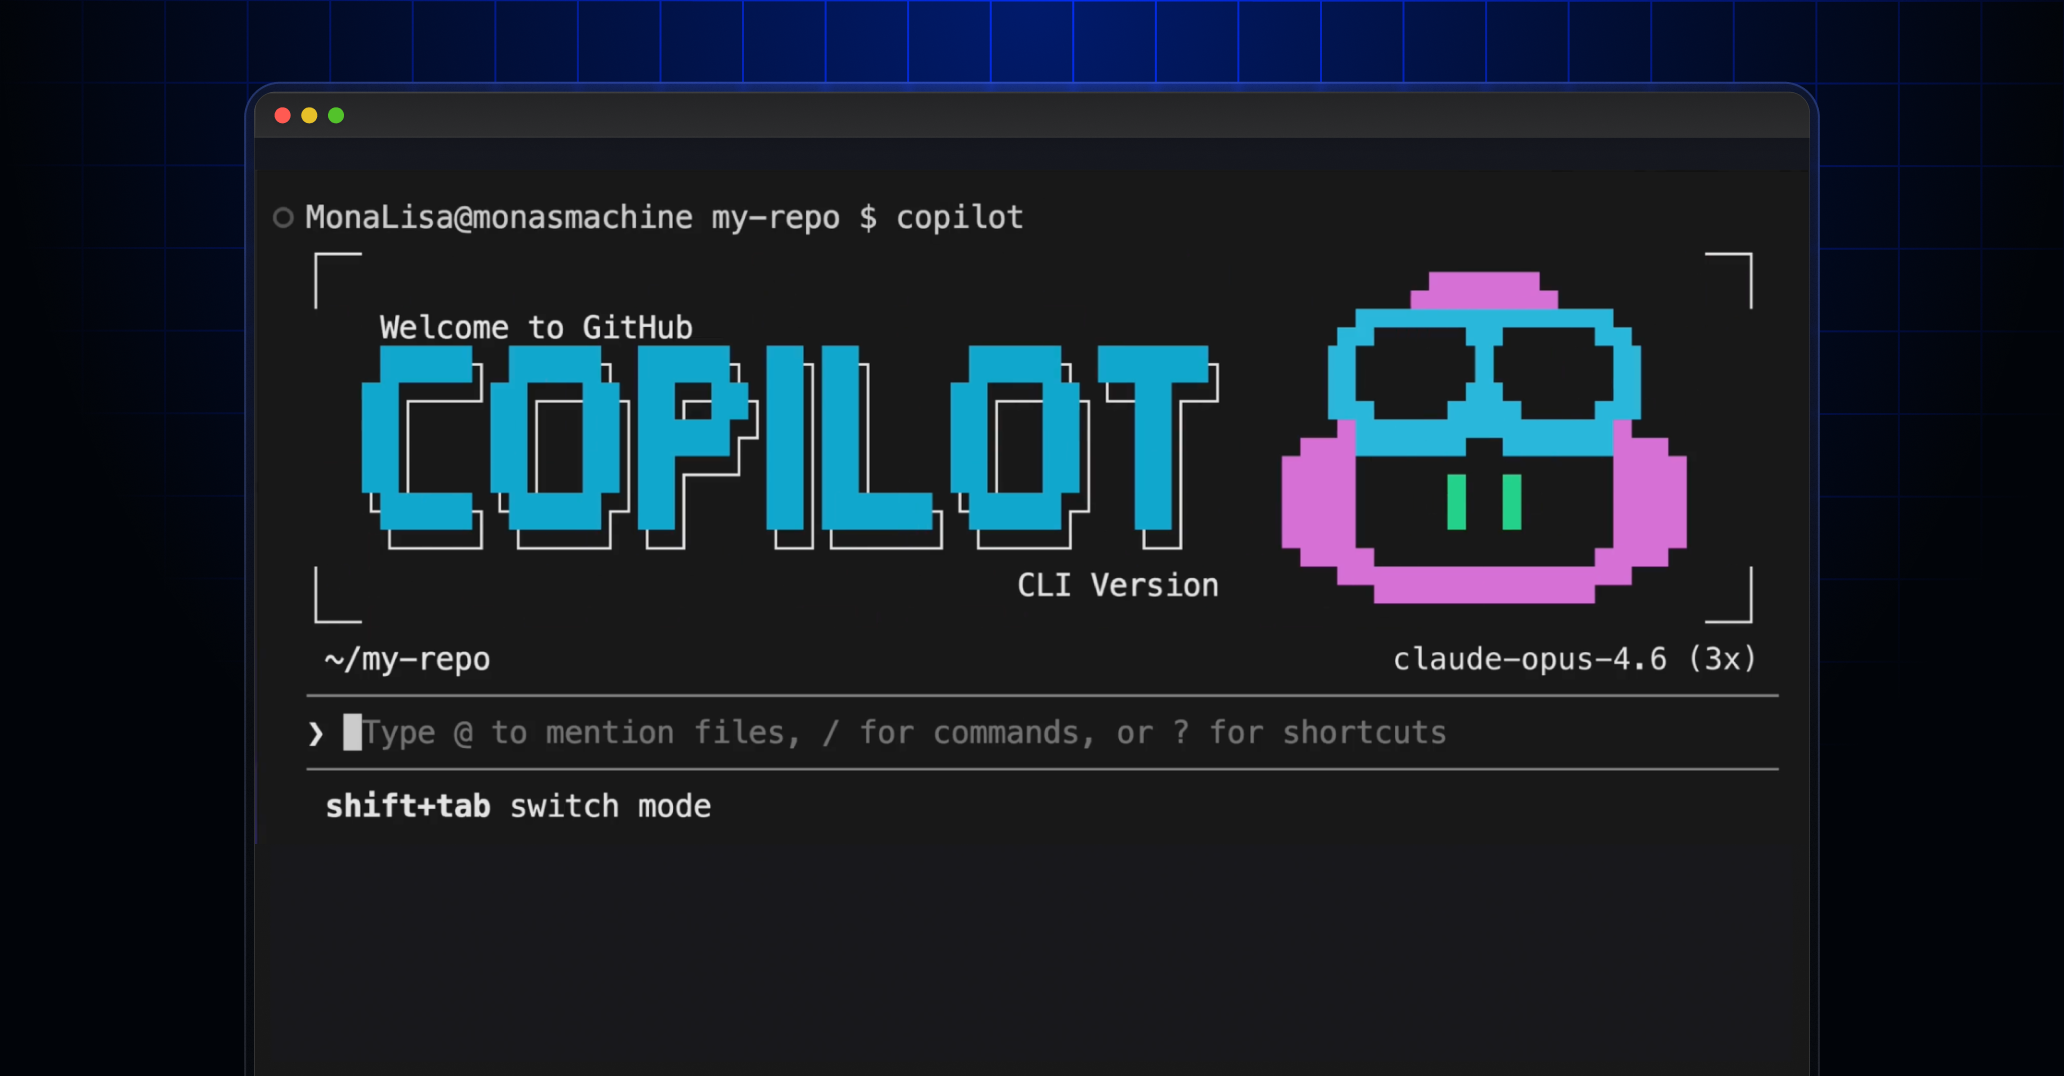
GitHub Copilot CLI is a terminal-native AI coding agent. Without any IDE extensions or web interfaces, you can leverage all of GitHub Copilot's capabilities through the command line alone. Beyond a simple chat interface, it's an autonomous coding agent that plans complex tasks, executes multi-step workflows, edits files, runs tests, and iterates until completion.
Any Copilot subscriber can use it for free, and it's fully supported in enterprise environments.

📸 GitHub Copilot · Your AI pair programmer · GitHub
Core Feature 1: Agentic Development Mode
Copilot CLI offers two main modes you can choose from based on task type and trust level:
📸 GitHub Copilot CLI · GitHub
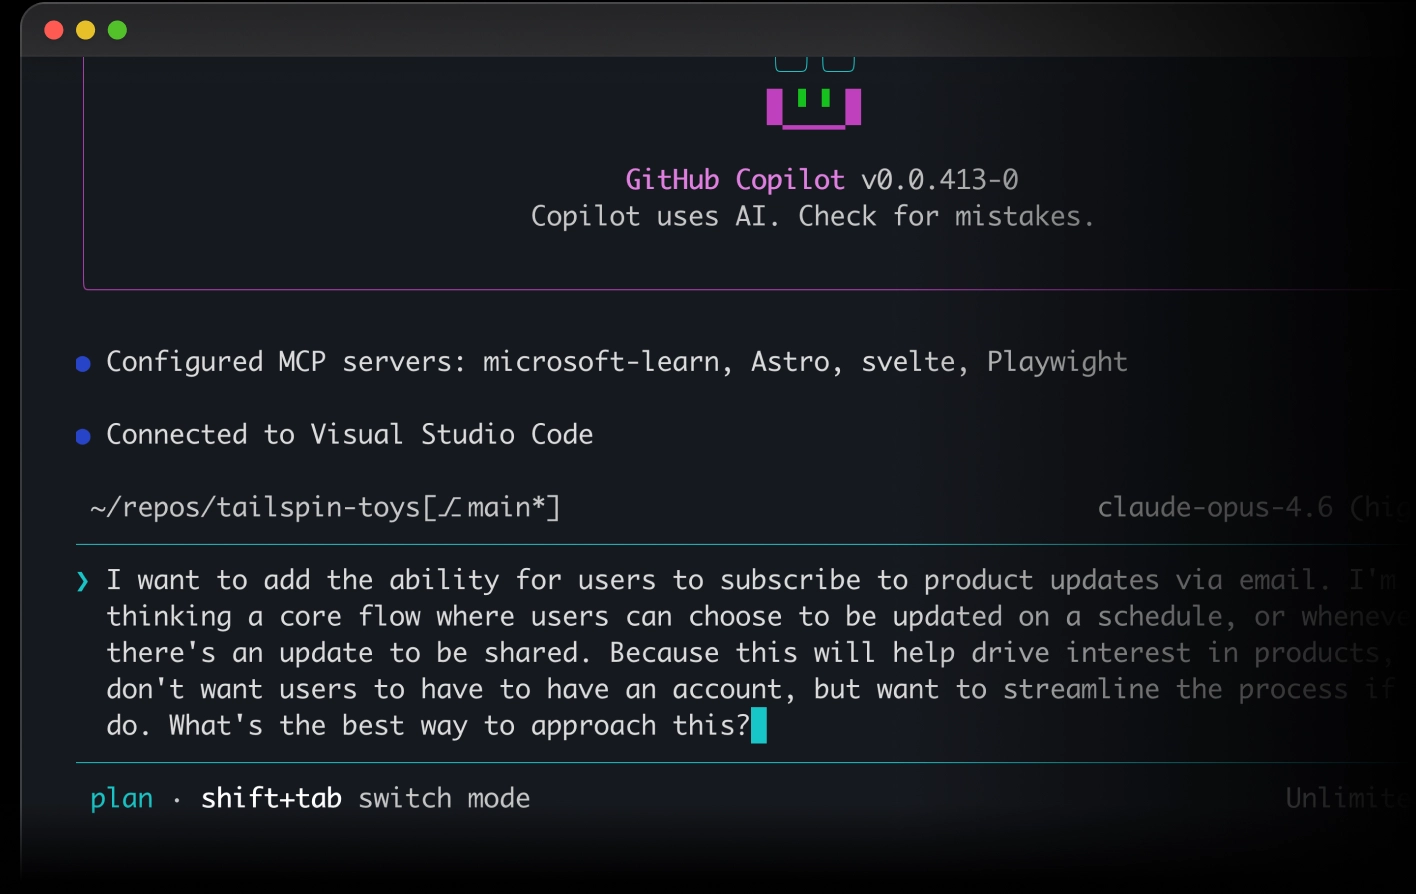
Plan Mode (Switch with Shift+Tab)
Copilot analyzes your request, asks clarifying questions, and establishes a structured implementation plan before writing code. Once you review and approve the plan, Copilot executes it. Ideal for important feature development or refactoring.
Autopilot Mode
For tasks you can fully trust Copilot with, use Autopilot mode for autonomous execution. It handles tool execution, command running, and iterative tasks without requiring approval. Efficient for repetitive boilerplate writing or test execution.
Core Feature 2: Automatic Specialized Agent Delegation
Copilot CLI automatically delegates tasks to specialized agents based on task type:
- Explore Agent: Quick codebase analysis and exploration
- Task Agent: Build execution, test running
- Code Review Agent: High-quality change review
- Plan Agent: Implementation plan creation
Multiple agents can run in parallel, enabling faster processing of complex tasks. With background agent functionality, agents can run in the background while you work on other tasks.
Core Feature 3: Review, Diff, Undo
The biggest concern when AI works autonomously is unexpected changes. Copilot CLI addresses this with powerful review mechanisms:
- Real-time diff viewing: Instantly view all file changes
- Step-by-step approval: Approve each action individually or all at once
- Undo functionality: Immediately revert unwanted changes
- Checkpoint system: Rollback to pre-task state
Core Feature 4: Freedom of Model Selection
"Your models, your choice" — Copilot CLI isn't locked into a specific AI model. You can select the most suitable model for your task type from multiple options including GPT-4o, Claude Sonnet, Gemini Pro, and more. Just as Claude might be better for coding tasks and GPT-4o for analysis, you can flexibly switch models based on your workflow.
Core Feature 5: Extensible with MCP, Plugins, and Skills
Copilot CLI supports Model Context Protocol (MCP). This enables infinite expansion of Copilot's capabilities by integrating with external tools, databases, and APIs. Beyond official plugins, you can create custom Skills to automate your team's unique workflows.
Core Feature 6: Unlimited Sessions and Repository Memory
Copilot CLI maintains repository memory across sessions. Codebase structure, team conventions, and project context explained once are remembered in subsequent sessions. With no session limits, you can work on long, complex tasks without interruption.
Copilot CLI Installation and Getting Started
Installing Copilot CLI is simple. If you already have GitHub CLI (`gh`) installed:
gh extension install github/gh-copilot
gh copilot --version
If you're using it for the first time, install GitHub CLI first:
# macOS
brew install gh

# Ubuntu/Debian
sudo apt install gh

# Windows
winget install GitHub.cli
After installation, authenticate with your GitHub account:
gh auth login
gh copilot chat "Hello, how can I help you?"
Real-World Usage Scenarios
Scenario 1: New Feature Development
gh copilot chat "Implement user authentication middleware based on JWT. This is an Express.js app."
Scenario 2: Code Review
gh copilot review --diff HEAD~1..HEAD
Scenario 3: Bug Debugging
gh copilot chat "Find the cause of this error message: $(npm test 2>&1)"
Scenario 4: Refactoring
gh copilot chat "Find duplicate code in src/utils folder and create a refactoring plan" --plan
Copilot CLI in Enterprise Environments
Copilot CLI offers perfect support for enterprise environments. It meets all corporate security requirements including IP allowlists, SSO/SAML authentication, Content Exclusion rules, and audit logs. It's also available in GitHub Enterprise Server environments.
Copilot CLI vs. Existing Tools Comparison
Compared to IDE plugins (VS Code Copilot, Cursor), Copilot CLI's advantages are clear:
- Environment independence: No editor or IDE required
- Automation pipeline integration: Natural integration with CI/CD and scripts
- Remote server work: Get AI assistance directly on servers after SSH connection
- Lightweight: Fast response without GUI overhead
The GA launch of GitHub Copilot CLI is the ultimate gift for terminal-centric developers. The era has opened where you can perfectly integrate AI coding agents into your terminal workflow.
댓글
댓글 쓰기